This is another instructable, this time for dying leather. For my camera I am having a leather feature across the front and reflect this in the handle and reel by having panels of leather on both of these. The reason that I was trying to dye leather was because the leather I wish to use is a very intense orange and it was becoming apparent that it was going to be difficult and expensive and this seemed to be the easiest way to get the right intensity that I wanted.
I also took a wee trip over to textiles to get some advice on dying leather and they weren't any use. They also told me to use this dye that I is used in this tutorial saying that it's suitable for leather. After investigating this and contacting the dye company, they inform me that they no longer sell this dye and it's not suitable for leather. This means that textiles were no use. But after browsing for a long time online I finally found a seller of the dye and decided to attempt dying the leather with this method.
For this you need:
-Dylon Cold Water Dye in a colour of your choice (I used orange!!)
-A sample of leather preferably in white or shades of. (I have used a dark tanned colour leather as this was the lightest colour I had available at the time)
-A small container
-A stick to agitate the leather
-A basin
-125grams table salt
 1. Take the deep basin that is big enough to fit your sample of leather in and fill it with cold water.
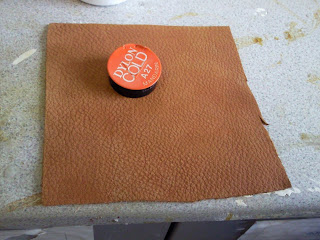 2. Make sure you have your leather and dye close by. I suggest that you take a piece of wet and dry sandpaper and very lightly sand the shine from the leather. According to the textiles department this helps the dye to stick better to the leather!!
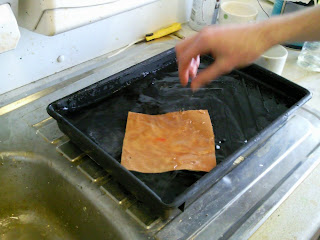
3. Dampen your leather and then place this aside until needed later on.
 4. Take your container and place your Dylon Cold Water Dye into it making sure that you pierce the lid of the dye first allowing it to be released.

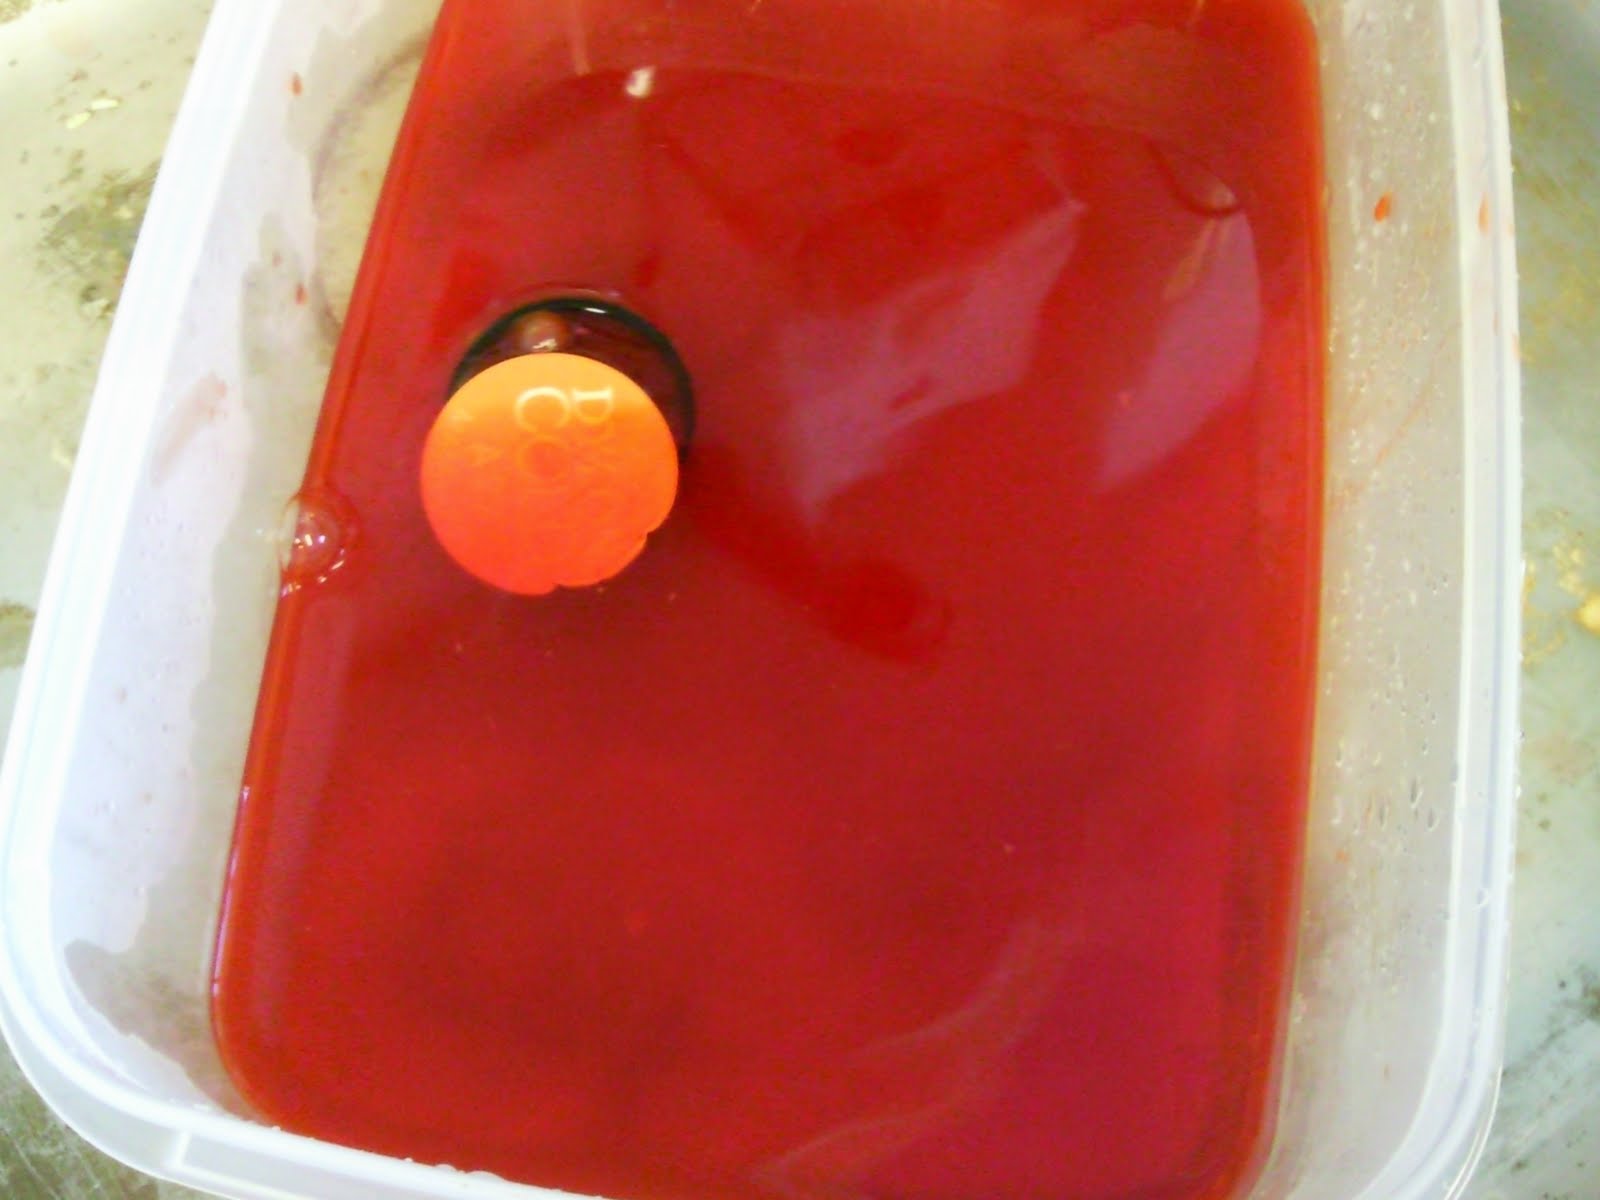
5. Fill the container with hot water allowing the pot to release the dye.
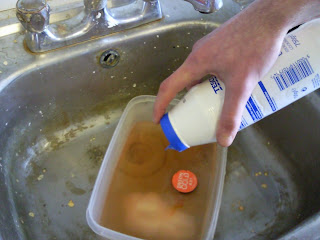
6. Into the container of dye and hot water add your salt.
 7. Agitate the mixture ensuring that the salt to dissolve in the hot water.
 8. When the salt has been dissolved and the most amount of dye has been released they water is ready to be transferred.
 9. Remove the leather from the basin of water wringing out as much water as possible.
 10. Add the mixture of hot water, dye and salt into the basin of cold water, removing the pot of dye, or placing it to the side.
 11. Place your dampened leather into the mixture in the large basin.
 12. Agitate the mixture with your stick to make sure the leather is completely covered into the mixture.
 13. Because I was dying a dark shade of leather and was wanting an intense colour of orange, I decided to put some of the powder dye from the pot on top of the leather in the basin to try and make it more intense. I had also hoped that the leather would pick up more colour.
14. Leave to soak for one hour.
15. Rinse the leather with cold water until it runs clear.
16. Allow the leather to dry but do not expose it to direct heat which may take up to two days depending on the thickness of the leather.
17. You now have a different colour of leather (will post up my results soon, forgot to take an image showing before and after)

 ^^ on the left: the tool clamp which holds the drill part in place. For selecting the right size, you want the tightest fit possible while also being loose enough to remove the drill part by hand.
 ^^ inserting the clamping tool into the chuck. All the clamping pieces pop into place in the chuck no matter what the tool size is.
 ^^ the drill part inserted into the clamp which is inserted into the chuck. This is then screwed onto the rotating part of the machine and tightened with a spanner.




 -To do this you need a remote control car (the one I used is available from Argos for £9.99) to take apart. Starting off, hacking away at the outer casing and removing the electronics inside. At this point the remote doesn't need to be taken apart so this can be set aside for the time being. The motors are then removed from the wheel attachment, these control the direction of the car: forward/back/left/right.
 -Desolder the motor wires from the main circuit board and solder on 2 new fresh multicore wires to the circuit board: red and black if available. You will only need one of the motor connections so take note of which one you use. There are notes on the circuit board which tell you what one is which. You will need to know this later on so you know what button on the remote triggers the camera.
 -This leaves the circuit board completed and ready to be connected to the camera.
 -If you want to take the casing off the remote and rearrange this then you can do that. For my project I need to but i'm still working on the new casing.